Showing posts with label gift. Show all posts

Saturday, December 28, 2013

Record Bowls

I had a realization about Christmas this year.

To be more exact, I had a realization about Christmas BREAK. This is my first year without a real Christmas break, so when it was suddenly December 23rd, I found myself without gifts to distribute. Until this year, I'd always had the week or so following Christmas to finish up the gifts for my friends and I would deliver them when I returned to school after the new year. Not so much this year.

Ah well, you live and learn, right?

So this year, I made a bunch of the same gift to distribute to people. I had some 45s sitting around that I never listened to, so I made them into bowls!

I followed this tutorial.


Start with some records. I used 45s, but this works for full-sized LPs as well.


Place them on an oven-safe bowl on a cookie sheet. Preheat your oven to 200 degrees. Pop it in. The tutorial says to set your timer for 8-10 minutes, but since 45s are smaller, I left them in for 5-8.


When the timer goes, pull it out. I used a different one of the same bowl to help with shaping. Watch out, they'll be hot, but they also cool SUPER fast, so some scorched fingertips were par for the course for me.


Voila! I learned that if you leave them in for longer, the vinyl starts to shrink, so you can make taller or shorter by adjusting the time in the oven.

I'm planning on covering the bottom with a neutral-colored paper. I'll add pictures when I've done that, but until then, enjoy!

Saturday, December 7, 2013

Bowtie!

November was a month of travel, and you know what long hours of sitting down leads to? Crocheting. Lots and lots of crocheting.

A few years ago, I went on a rampage, asking all of my friends what they would want from me if I were to make anything for them. I'm still chipping away at that list, and last month, I polished off a couple of them! Here's one of them:


I used this pattern and this yarn in Candy Apple Red. It's pretty straightforward (and a lot faster than this tie that I finished back in July).

I'll add pics if/when the recipient sends them to me!

Saturday, September 7, 2013

Baby Blankets!

A few years ago, one of my close high school friends had her first baby. I was kind of at a loss as to what to get her. I was 18 for pity's sake - I knew nothing of the intricate world of baby paraphernalia! Luckily, my mom stepped in and taught me how to make the simplest, most gift-able baby blankets EVER.

Since then, I've had three more opportunities to make these blankets - twice since I started working at my company! Now, I'm very hesitant to share the secret because I've been enjoying the raving gratefulness I've received from new parents about these blankets, but I suppose I should share. Generosity and stuff, right?

To make one blanket, you'll need a yard each of flannel in coordinating colors - I like a pattern for the front and a solid for the back (for these, I got a sports theme and an animal theme for the front and a stripe for the back). I tend to make these blankets in pairs, just so that the gift feels more substantial, so I get two patterns and two solids.

First, wash and dry the fabric. Because it's for a baby, you should use detergent with no dyes or scents. Then, trim any loose threads. Take a blurry picture, if possible.


I'm a terrible person and take shortcuts, so at this point, I place the two pieces right side together and sew all the way around, leaving a 4-5 inch opening in the middle of one side. If you want to be more precise, I would suggest trimming the pieces to be the same size before sewing.


Here's where I trim the sides to make them the same size. If you're more meticulous, you've already done this.


Then, turn right side out, poke out the corners (I use closed scissors), and stitch the opening closed.


Finally, topstitch about an inch away from the edge with a zigzag or other decorative stitch. This ensures the blankets keep their shape.

And there you have it! Throw them in a gift bag, grab a cute card, and you're all ready to make a newborn all kinds of cozy!


Saturday, July 27, 2013

Kirby Plushie

And for my latest trick...

KIRBY!

Those of you who have known me for a few years know that I love love love crocheting plushies for the people I care about. I have to admit, though, that part of my love of plushie-making goes to the fact that I feel like I up my nerd cred by crossing over nerd categories. Here are two that I've made in the past:

Luigi, for my brother's birthday

Mew, for my dear friend Sera's birthday

Now, I have to come forward and admit that I didn't DESIGN these beauties. That credit can go to Wolfdreamer Off the Hook, who writes the most amazing patterns for video game plushies. Seriously, they're amazing and you should all go and marvel.

I should also note that I'm not responsible for the eyes, either. Up to this point, all my felt eyes have been made by my mother. Hand her a picture of the video game character and she can reproduce it in eerie accuracy in felt. It's incredible.

SO I realized Wolfdreamer OTH hasn't designed every character under the sun, which means that sometimes, a girl's gotta go off the beaten path and make one for herself.

Here he is.


This Kirby is made from the body and arms of King Boo (though, if I remember correctly, I elongated the arm flap a little to make them hang at his side. I also might have made the body bigger than the pattern by throwing in a few extra rounds. Clearly, this is not a tutorial.). I then added Sonic feet and made eyes and a mouth!

The body/feet have been done for probably about a year now, but I've been frozen in fear of making my own eyes. Finally, I realized in a panic that I didn't have a post written for this Saturday, so I had no choice but to pull out the hot glue gun and get going!

Here's my inspiration image (courtesy of Google Images). I'll post a picture of the recipient when/if he sends me one!

Saturday, July 6, 2013

Crocheted Tie

Do you ever have projects that you had SO much energy to work on for the first 2/3 and then.... just fizzled? I have about five of those waiting to be finished up. I guess you could call them Bruin Projects.

But I'm proud to say that that number used to be six, but I've recently finished this crocheted tie!

Last June (see what I mean about fizzling?!), I had a friend request a crocheted tie. Now bear in mind that I have a personal aversion to ever telling anybody "No," especially when it means I get to go yarn/fabric/craft supply shopping! I promptly bought the yarn (in brown, 5), I found a pattern (my first adventure with reading crochet charts), and off I went.

The pattern calls for you to crochet it double-width and then sew it up the back. After crocheting the agonizingly small 200+ rows, I stitched up the back and found, to my horror, that crochet stitches are very stretchy and therefore it was nearly impossible to get a good knot in the tie.

Well, I suppose that's why we craft, right? To find creative ways to solve problems.


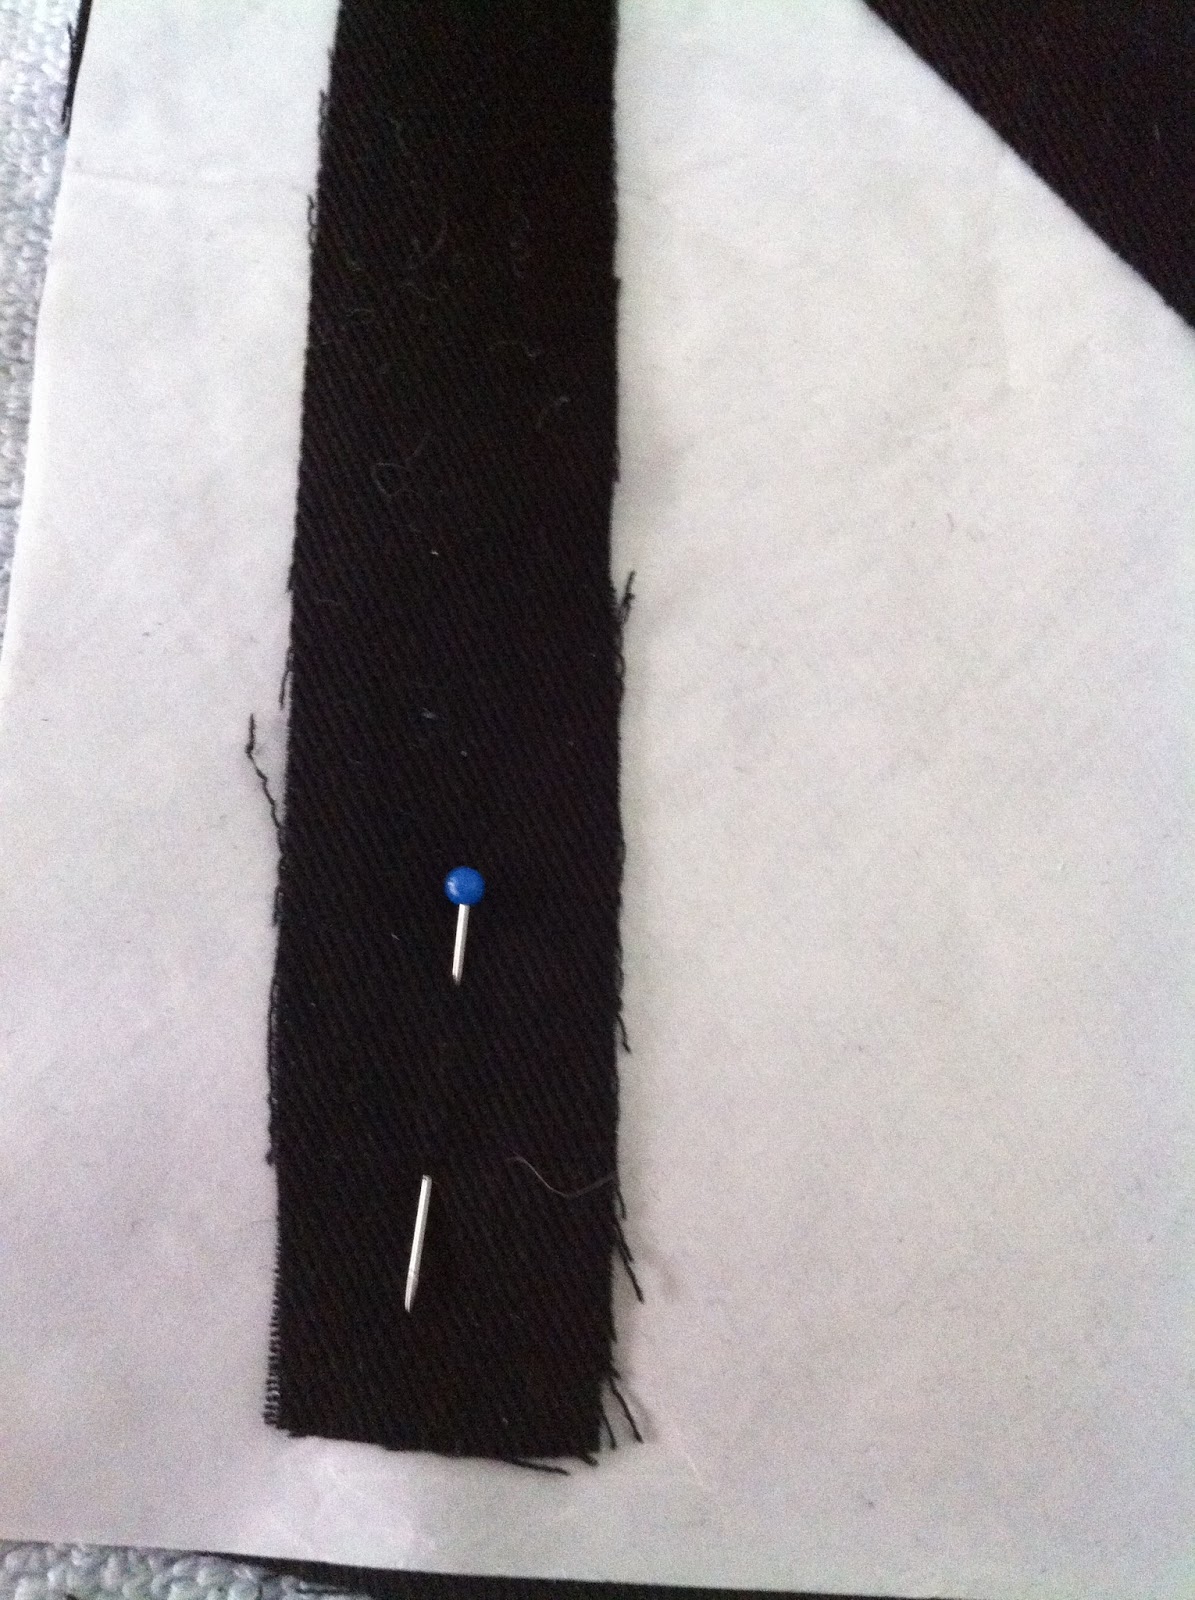
After some discussion with my mother (she fixes all my craft-related problems), I decided I just needed to iron in some interfacing. A few measurements, some frustrating sewing, and a few minutes with the iron, aaaaand....there was something stuck to the front of the tie.

Apparently there was something sticky on the ironing board cover, which transferred to my beautiful, darling stitches. Cue me freaking out, yelling a little bit, then stomping downstairs to dramatically present the damage to my mother. It was back to the drawing board in late September.

I'm not ashamed to say my mom fixed this one, too. Seriously, the woman could probably get 2000 year old stains out of Cleopatra's clothes. She's that magical with fabric.

By this point I was just sick of thinking about the stupid tie. I couldn't muster the enthusiasm for a third wave. So it sat in my to do queue until I finally stitched it up in April. But was it done? Oh-ho, no way - now it was too short.

See, the recipient has a self-professed absurdly long torso. So I had my brother try it on so I could maybe get an idea of where to put the loop in back and it was clear that it needed a couple more inches. So finally, in May, after 11 months of hanging over my head, the tie was complete.

If I did this project over again, I would definitely have measured the tie before I tied off the yarn. Also, when lining it, I would have layered the interfacing, fusing them together instead of trying to stitch pieces end to end. And I'd probably give it stripes or some sort of pattern.

Regardless, it is sent! And when the recipient receives it and takes pictures of himself in it (which I mandated via a card that simply read "PICS OR IT DIDN'T HAPPEN), I'll post them here.

What was the last lingering project that you've finished? (Or are there any you'd like to confess to?) Let me know in the comments!

Saturday, June 29, 2013

Scrabble Tile Pillows


I'm super-excited to bring you my first tutorial: Scrabble Tile Pillows!

My best friend is madly in love with Scrabble and other word games. I personally don't understand it because I am terrible at anagram-style puzzles. It probably has to do with my left/right brain balance, but whatever the reason, I haven't the patience for the game.  But my best friend - boy oh boy, does she ever like it. In fact, she loves that game so much that her now-husband proposed to her via Scrabble board. It was adorable.

For her birthday (and by "for her birthday", I mean "several months after the fact, when I finally got around to making them"), I decided I would make her some pillows in the style of Scrabble tiles. Here's the finished product (and can I just say that I AM SO PROUD OF HOW THEY TURNED OUT):


So how do you make a couple of these beauties? It's actually pretty simple, First, gather your materials:


This is what I needed to make two pillows:
  • Two pillowforms (18")
  • Graph paper
  • Iron
  • Wonder-Under or other iron-on adhesive
  • 1 yard Scrabble tile-colored fabric
  • Scraps of black fabric (I had ~1/4 yd of black fabric that my mother threw in with my craft stuff when my parents helped move me in - thanks Mom!)
  • Sewing machine/thread/ruler/pencil/any other normal craft supplies you need to feel productive (this includes my Disney Pandora station for me)


The letters are appliqued-on via wonder-under. If you've never used (or heard of) the wonder that goes under, it's an iron-on adhesive that makes projects like this a breeze. First, I figured out how large my letters should be, via graph paper. And by via graph paper, I mean I just laid it on, eyeballed how big I wanted them to be (referencing a quick google image search for "scrabble tile") and marked it with pencil.

I am clearly the most precise crafter you'll ever meet.


Then I sketched out my letters.

And vowed never ever to use anything but graph paper to draw. Ever. Again. It's magical. My letters were proportional!

 (...as somebody whose artistic ability goes about as far as stick figures, this was very exciting.)


Stick Wonder-Under to the back of your fabric by following the ironing instructions and cut the letter out of the fabric/Wonder Under combination.

Then, like an idiot because you did it backwards. So remember that you should pin your letter on the side of the fabric that DOES NOT have the Wonder Under paper.


See? It should be like this.

So cut them out the proper direction and place them on.

Iron them to secure.

Next, realize that they fray and will not stay. The particular type of Wonder Under that I was using is only meant to anchor fabric while you applique it on. Make sure you read the instructions thoroughly so that you get a sturdy enough connection. You wouldn't want your letters falling off! So I stitched to secure the letters.

I used a small zigzag, with the zig on the letter and the zag on the background. This eliminated these pesky little frays:


At this point, you will have two banners with letters in the middle. I used this tutorial for instructions on how to sew my envelope pillow cases. The idea is that you have two long, raw edges and two short, finished edges. You fold the top down and the bottom up so that they have 3-4" of overlap in the middle.


This is what it looks like folded. Note that the one on the bottom of the stack was the one I wanted on the outside (I cheated and used the selvage for the inside edge).

Stitch those suckers up, flip it right side out, cram a pillow form in there and...
Ta-da! Two wonderful Scrabble tile pillows, ready for a couch or bed.


I found it amusing to tell my best friend that she was worth more than her husband (she's the K, he's the B). What do you think? Would you make them your initials or is there something else that you're dying to spell with pillows?

Saturday, May 4, 2013

Paper Chain Countdown

Recently, when I was trying to figure out what to do for my dear friend Sara's birthday, I had a brilliant idea.

When I was in high school, I got it into my head that I was going to take up scrapbooking. This made a lot of sense to me because the way that I journaled was by taping important things into a spiral notebook, so when I had big life events like family vacations that resulted in lots of little important things, why not collect all of them in a scrapbook? Also, I love paper goods! Having another reason to hoard them would be awesome! ...right?

Well, 7 years later, the result of that notion is a huge collection of scrapbooking materials, around 12 plastic sleeves of events to be scrapbooked and maybe a grand total of 3 scrapbook pages.

What does this have to do with my friend Sara, you may ask? One simple thing: PAPER.

I had a whole lot of colorful 12"x12" sheets of scrapbook paper just lying around in a plastic sleeve. So I decided to make a countdown chain for Sara for her birthday, counting down to... her next birthday! (She's turning 21 next year and is pretty stoked)

The process is really simple. First, cut your strips. I eyeballed them, since I don't have a rotary cutter or a paper trimmer. Shoot for between 1" and 2" thick. I cut three or four pieces of different-colored paper at a time so that I could alternate colors.


Then, get comfortable and start stapling/taping/gluing. I would suggest stapling, but I ended up using tape because I recently moved and my stapler is nowhere to be found.

I wrote the date on each ring, so that if she forgot to rip one on any specific day, she wouldn't have to count to figure out how many she should rip! Also, this helped me ensure that I made the right number of rings. Every ten days or so, I added a fun fact/historical date, just to spice the chain up a bit.

Here it is in all its colorful glory:


Once it's all done, all you have to worry about is transporting it. It ended up betting shoved in a huuuuuge gift bag and sitting in my lap on the bus between Seattle and Portland. When it was delivered, it was happily received:


Happy birthday, Sara!